Writing a design brief can feel rather daunting. As though you’re writing instructions to build a house, but you’re not sure what materials you have, how big your plot is or even what it’s going to look like! As with many tasks, starting is the hardest part, but breaking it down into manageable sections can make it easier to tackle.
Step 1: The essentials
Thinking of your design brief as having three distinct sections can help you to put your project to paper effectively.
A design brief can be required for a wide variety of tasks including cover and page design, illustration and typesetting to name but a few. However, regardless of the task, all design briefs require details on the technical specifications or requirements of the project as well as space to describe the style and overall look-and-feel for the work. Thinking of your design brief as having three distinct sections can help you to put your project to paper effectively:
- Project overview—introduce and summarise the basics of your project, no detail is too small!
- Components—include the technical specifications and details for your project.
- Vision—what does success on this project look like? Get descriptive!
Step 2: Start at the beginning
You should assume that whoever is reading your brief has no prior knowledge of the project, therefore include every detail, no matter how obvious! Utilise this space to succinctly introduce and summarise your project—first off, what is the elevator pitch? Then keep going, and remember no detail is too small.
Remember, no detail is too small.
What is the name of your project? Who is it for and what is its purpose? Make sure to cover objectives, schedule and important milestones for the project. Are there any key stakeholders involved or meetings to present work-in-progress to? Any background information you think relevant should be included. Don’t be afraid to link to supporting documents or references either, it all helps to build the wider picture of your project.
Don’t be afraid to link to supporting documents or references, it all helps to build the wider picture.
Step 3: Get technical
Consider the technical elements of your design brief as the foundation or skeleton for the project. Typically, these are the details that will not change, and therefore the starting point for many designers. Depending on the project you’re briefing for—print or digital, single or multi-component—the technical specifications will vary. For example, in a print project you might think about extent or pagination, measurements for size and margins, colour and binding information, file outputs and delivery channels, fonts, and so on. Some details will be relevant for any project, such as size, but your measurement could be points, pixels or millimetres! Your designer can work with you on fine-tuning these should they not be concrete in the initial brief.
Although these details are not the most exciting, it’s important to get them accurate at this early stage to avoid future complications in the design.
You can also consider if any additional resources would be useful here. Can you supply a template for the work? Are there any technical documents to share that will be important to reference, such as brand or style guidelines? Do you have a contact for your printer so the designer can clarify specifications quickly and efficiently? Although these details are not the most exciting, it’s important to get them accurate at this early stage to avoid future complications in the design.
Step 4: Get descriptive
A designer can discern valuable insight from you describing the vision for the project in your own words. Use this space to highlight what a successful outcome might look like—you could include things like how you would like your end user to feel or interact with your project, or how you would like certain components to look and then interact with each other.
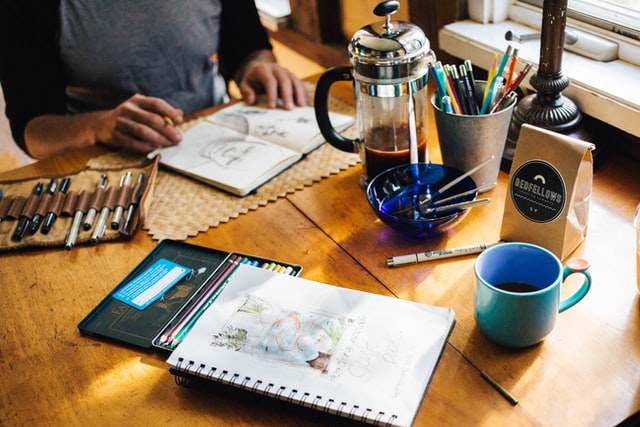
Don’t be afraid to use emotive language when describing your project … If you’re struggling, pick up your pencil!
Don’t be afraid to use emotive language when describing your project, it can often help a designer to understand the wider picture and create the best outcome. If you’re struggling, pick up your pencil! A sketch to help visualise your thoughts or a reference from a quick image search online will go a long way to supporting the description of your vision. As such, use this as a basis for discussion with your designer, so they may delve into your thoughts and bring your ideas to life.
Step 5: Enjoy the creative process!
It’s important to remember a design brief is not the final product, and your chosen designer may wish to talk through and clarify their thoughts on your instructions before starting. You will find working with a designer is more like a partnership where you work together to create the best solution to your brief rather than you knowing the exact outcome from the beginning. Think of the design brief as a creative process with space to discuss and refine as you partner with a designer and collaborate on the vision for your project.